How to Add a HIPAA-Secure Contact Form to Your Squarespace Therapy Website
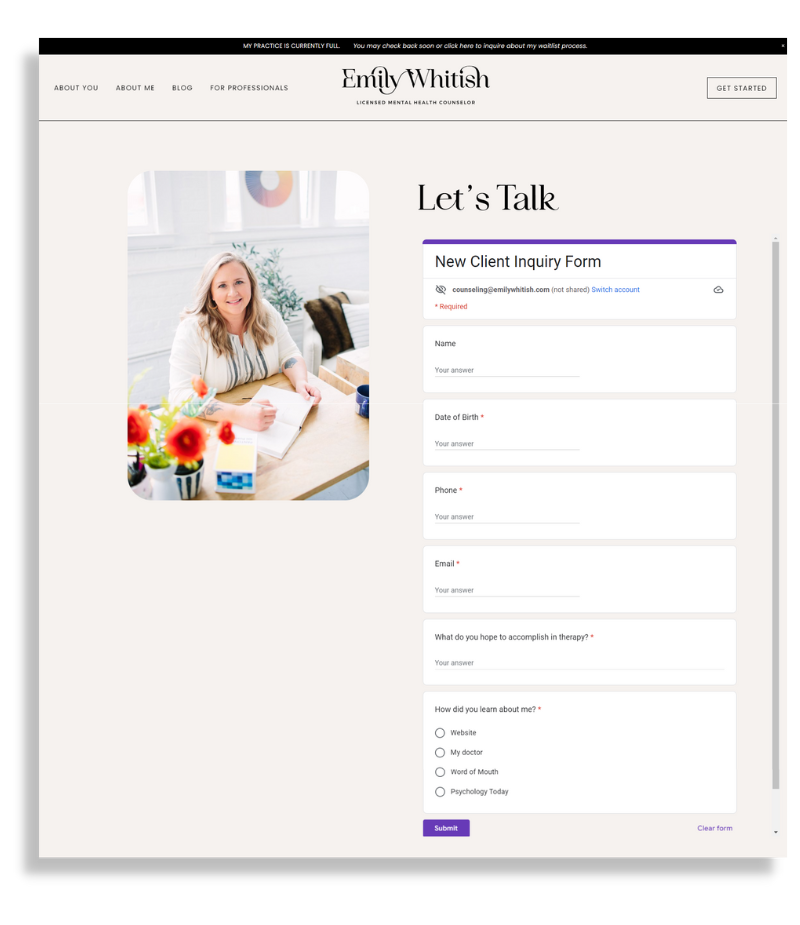
Traditional website forms are designed to email the form data on submission. This is how the form builders are setup for Squarespace, and this is not HIPAA compliant. Fortunately, you can use your Google Workspace account to embed a HIPAA-compliant form into your Squarespace website.
As a therapist subject to HIPAA compliance, you can use Google Workspace with Protected Health Information (PHI) as long as you sign a Business Associate Agreement (BAA) with Google. The Administrator of your Google Workspace account must review and accept the BAA.
Google Forms is a great online form builder. The interface is responsive, and the forms are reliable. The form-building process is intuitive and includes all the question types you would expect, from checkboxes and short answers to multiple choice. You can insert images and videos, add paragraphs and make limited design changes to colors and fonts.
However, things can get a little tricky when you try to embed your form on your website. To help you out, I’ve created this guide on embedding Google Forms into your Squarespace website.
How to embed a Google Form on your Squarespace website
This tutorial works with Squarespace 7.1 sites with the Fluid Engine platform.
Step 1: Set up a new form
Go to https://docs.google.com/forms
Click Blank +.
A new form will open.
Step 2: Edit and format your form
You can add, edit, or format text, images, or videos in a form.
To learn more about editing your form, click here.
Step 3: Choose where to save your form responses
In the top left under “Responses,” click Summary.
In the top right, click More > Select response destination.
Choose an option:
Create a new spreadsheet: Creates a spreadsheet for responses in Google Sheets
Select existing spreadsheet: Choose from your existing spreadsheets in Google Sheets to store responses
Click Create or Select. You can find the response spreadsheet in the Google Sheets homescreen, the Google Sheets app, or in Google Drive.
Step 4: Update the Settings
Click the form Settings
Beneath where it says, REQUIRES SIGN IN, you’ll see an option to restrict your form to users within your organization. Toggle this off.
Step 4: Grab the embed code
Click the 'Send' button and select the icon with two pointed brackets (<>). This gives you access to the embed HTML.
Beneath the embed code, you'll see an option to change the dimensions of your form. You can adjust the width and height to make sure it displays perfectly on your site.
When you're happy with the dimensions of the form, simply copy the HTML code (Ctrl + C on Windows, ⌘ + C on Mac) that appears.
Step 5: Embed into your Squarespace website
Go to your Squarespace account and log in. Then click on the website you want to add your form to.
Edit the page, click Add Block, and click Embed.
Open the block editor by clicking the pencil icon.
Click Code snippet in the block editor and paste an embed code manually into the text field.
Click Save.
If you’d prefer to display a button that links to your form:
Click the 'Send' button and select the icon that looks like a link. This gives you access to the URL you need for your button.
Go to your Squarespace account and log in. Then click on the website you want to add your form to.
Edit the page, click Add Block, and click Button.
Open the block editor by clicking the pencil icon.
Click Web Address and then paste the link.
Toggle Open in New Window to “on” so the form opens in a new tab.
Click Close and then Save the page.


